How to Make a Google Form Quiz: Step-by-Step Guide, Answer Keys & Auto-Grading (2026)
Google Forms is one of the most widely used free tools for creating quizzes, assessments, and knowledge checks. Yet many people only scratch the surface,they create a basic form, share it, and grade every response by hand. That misses the entire point: Google Forms has a built-in quiz mode that handles answer keys, point values, automatic grading, and instant feedback with almost no manual work. This guide gives you the exact step-by-step process used by teachers, trainers, and businesses to build professional quizzes in minutes.
Whether you are creating a classroom quiz, an employee knowledge check, a certification test, or a customer feedback survey with scored questions, this blueprint covers enabling quiz mode, adding questions, setting answer keys and points, adding automatic feedback, controlling who can take the quiz, sharing it, and reviewing results. By the end, you will know how to build a fully functional Google Forms quiz,and how to avoid the common mistakes that make quizzes harder to grade.
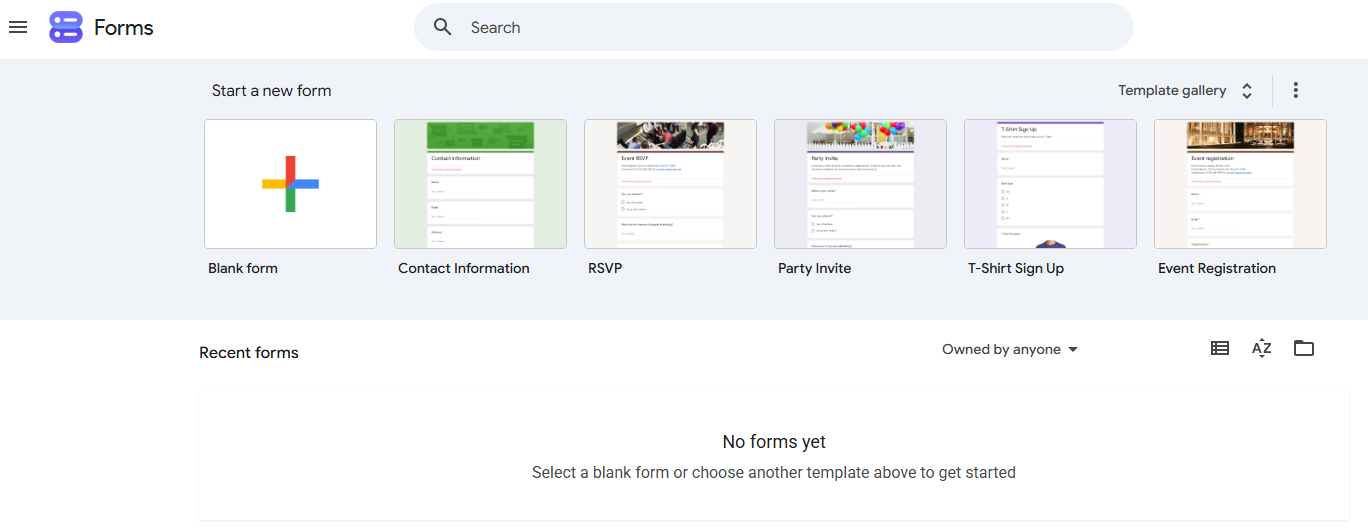
Your Google Forms quiz roadmap
What is a Google Forms quiz,and why use it?
Google Forms is a free tool inside Google Workspace that lets you create forms, surveys, and quizzes. By default, a new form starts in survey mode,it collects responses but does not grade them. When you turn on quiz mode, Google Forms unlocks a set of assessment features: answer keys, point values, automatic grading, and answer feedback.
This makes Google Forms ideal for: classroom quizzes, employee onboarding assessments, certification tests, knowledge checks, training evaluations, and practice exams. It is free, works on any device, integrates with Google Classroom, and automatically organizes responses in Google Sheets for analysis.
Enable quiz mode (the most important step)
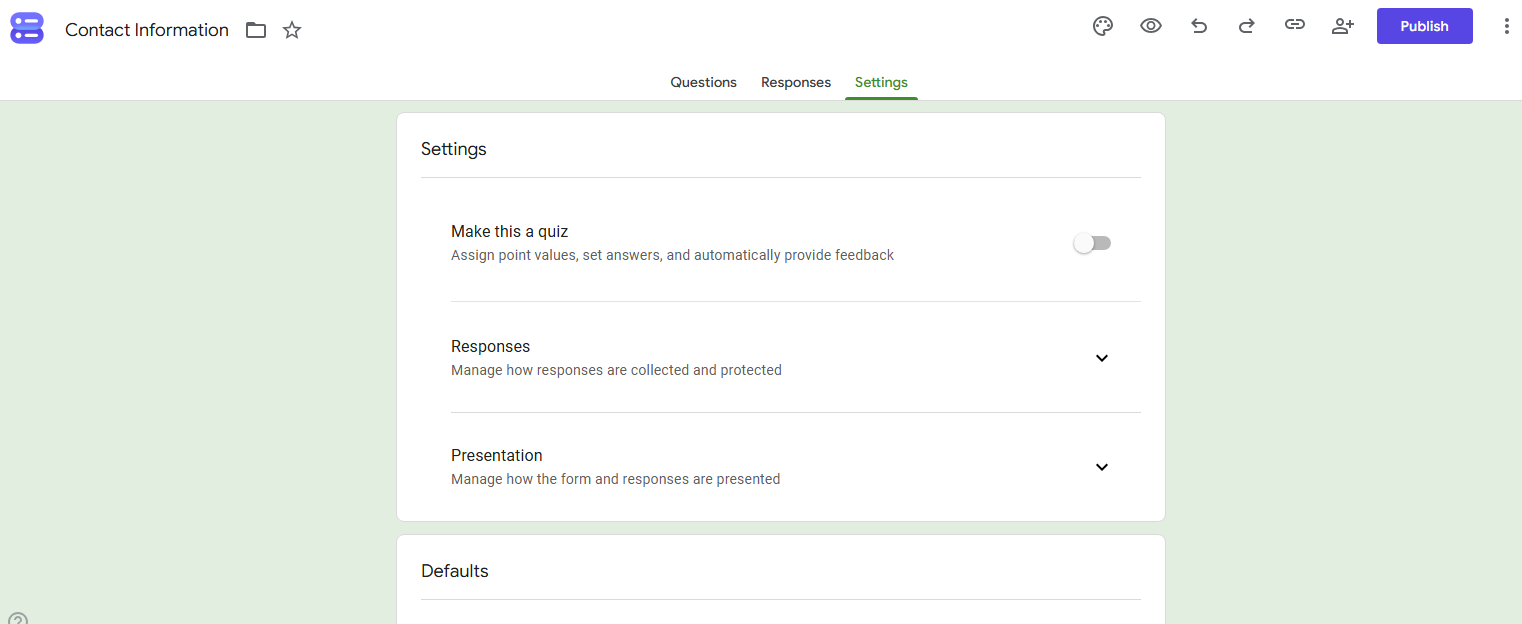
This is the step most people miss. Without quiz mode, you cannot set answer keys or assign points. Here is how to enable it:
- Open Google Forms at
forms.google.comand create a new form (or open an existing one). - Click the Settings gear icon at the top of the form.
- Turn on “Make this a quiz” under the Quizzes section.
- Choose when to release grades: “Immediately after each submission” for self-paced quizzes, or “Later, after manual review” if you want to review responses first.
- Click Save.
Pro tip: The quickest way to create a quiz is to go directly to g.co/createaquiz, which opens a new form with quiz mode already enabled.
Add questions & choose question types
Once quiz mode is enabled, you can add questions just like a regular form,but now you can also assign correct answers and points. Click “Add question” and choose the type that fits your assessment:
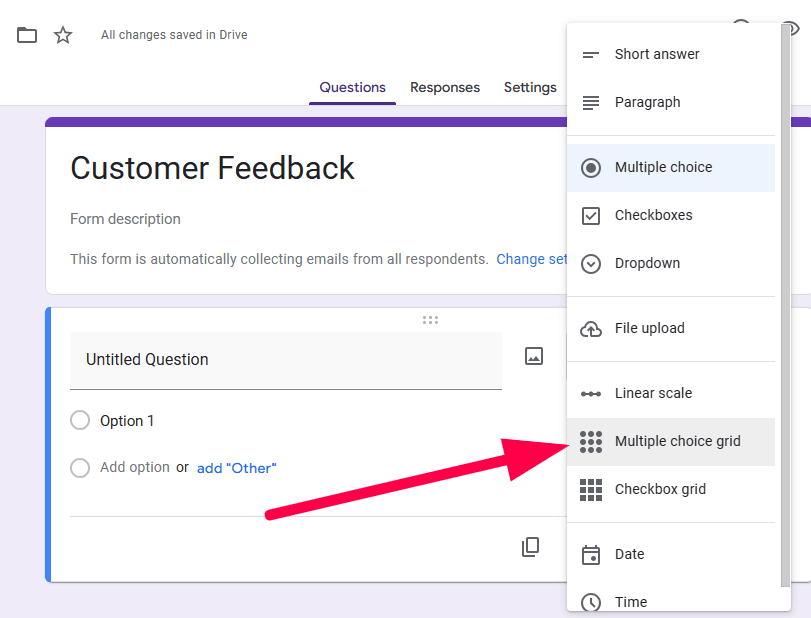
Multiple choice
Best for questions with one correct answer. Respondents choose one option from a list. Automatically gradeable with an answer key.
Checkboxes
Best for questions with multiple correct answers. You can assign partial credit or require all correct answers for full points.
Short answer
For text-based answers. Google Forms uses exact match grading,the respondent’s answer must match one of your accepted answers exactly (case-insensitive). Enter all acceptable variations (e.g., “Paris,” “paris”).
Paragraph
For longer text responses. Cannot be auto-graded,you must grade these manually.
Dropdown
Same as multiple choice, but displayed as a dropdown menu. Best when you have a long list of options.
Linear scale & rating
For scaled responses (e.g., 1–5). Useful for surveys and feedback, but not typically auto-graded as a correct/incorrect answer.
Set answer keys & assign points
For each question you want to auto-grade, you must set the correct answer and the point value. Here is how:
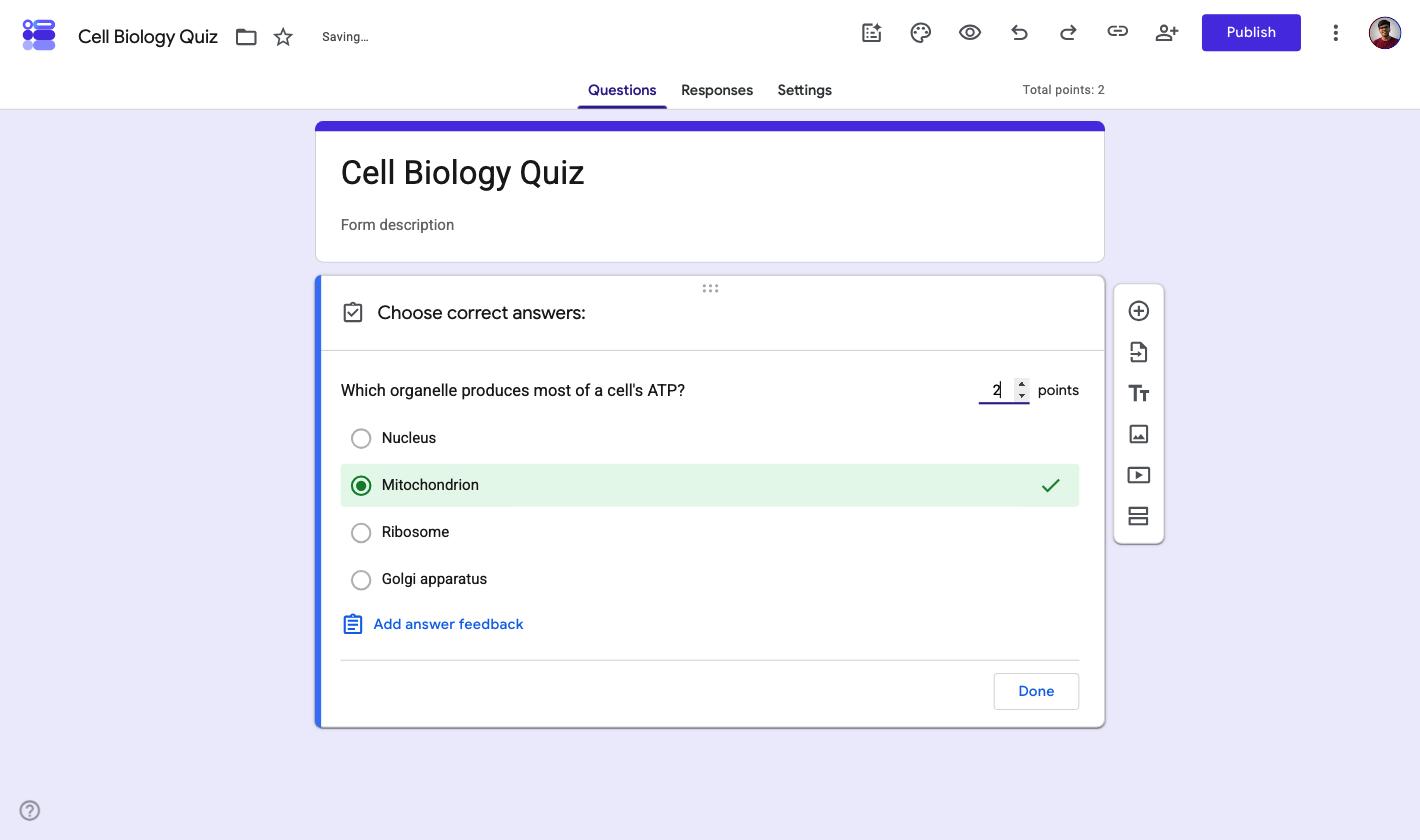
- Click “Answer key” at the bottom of the question card.
- Select the correct answer(s),for checkboxes, select all that apply.
- Enter the point value in the top-right corner of the question. You can assign different points to different questions to weight them.
- Optional: Add answer feedback,a written explanation or a YouTube video link,that respondents see after submitting.
Pro tip: To set the same point value for all questions, go to Settings → Global Quiz Defaults and enter a default point value.
Add automatic feedback (turn your quiz into a learning tool)
Feedback is what separates a simple score from a real learning experience. In quiz mode, you can add feedback for correct answers, incorrect answers, or both. This feedback is shown to the respondent after they submit the quiz.
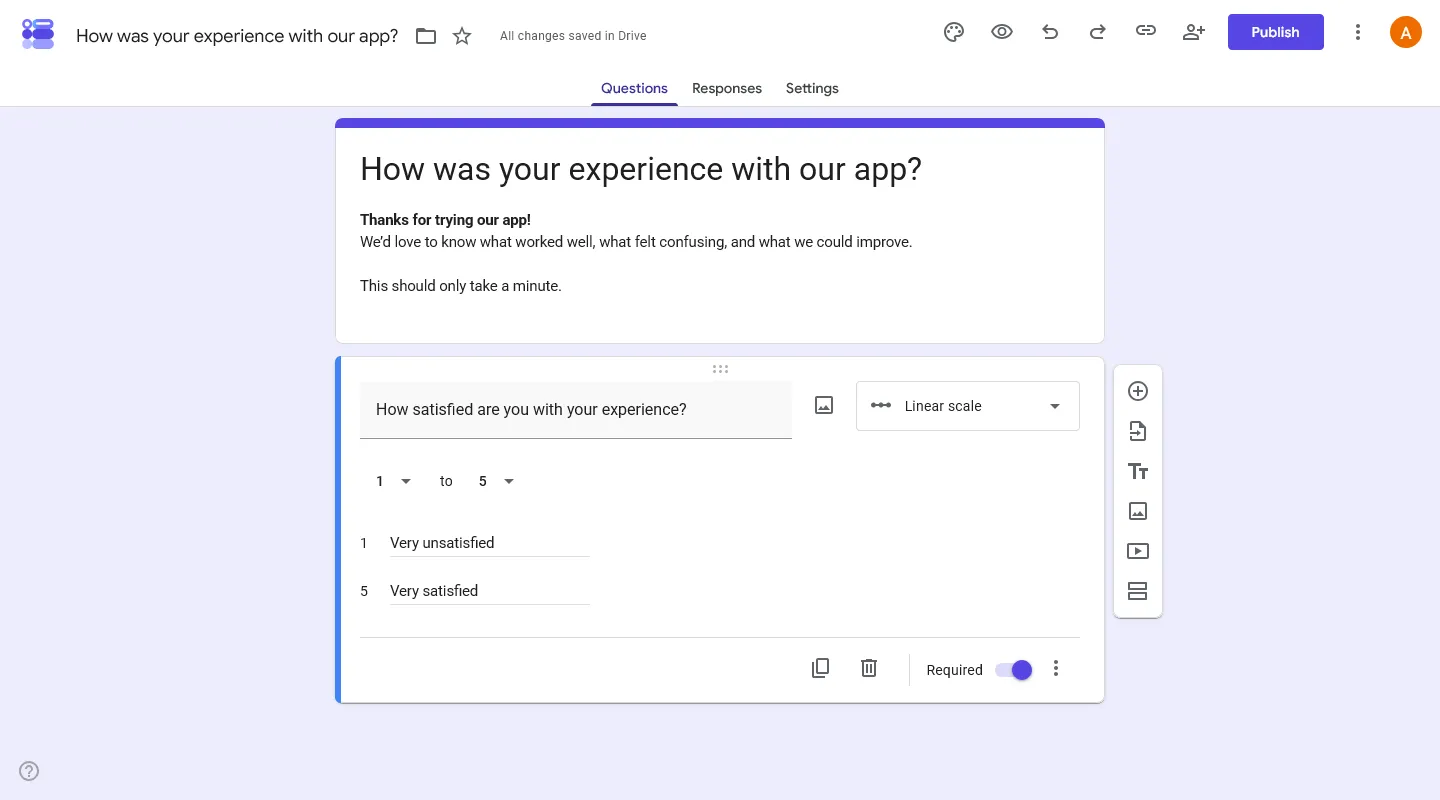
- For correct answers: Reinforce why the answer is right and add extra context.
- For incorrect answers: Explain the correct concept and link to a resource for further study.
To add feedback, click “Add answer feedback” inside the answer key panel. You can write text, link to a YouTube video, or both.
Control access & release grades
Google Forms gives you fine-grained control over who can take the quiz and what they see. These settings are found under Settings → Responses and Settings → Presentation:
What respondents can see: Under Settings → Respondent settings, you can choose whether respondents see missed questions, correct answers, and point values after submitting. For formal tests, you may want to hide correct answers until after the testing window closes.
Share your quiz (3 ways)
Once your quiz is ready, you need to publish and share it. Google Forms offers three main sharing methods:
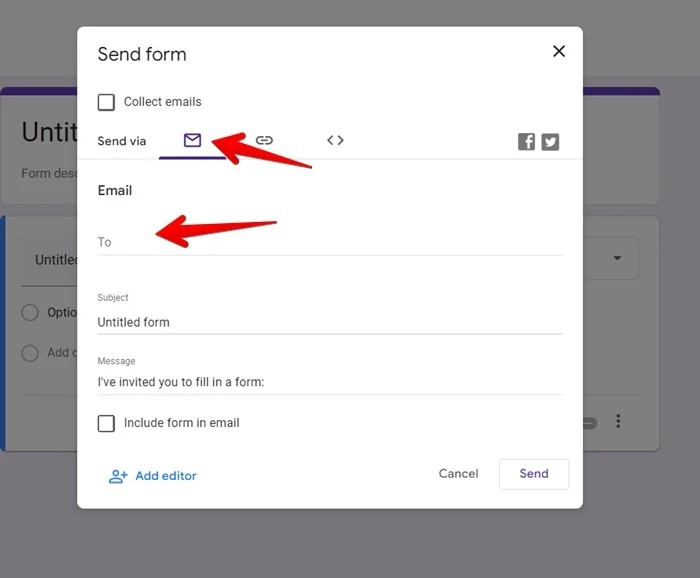
Send by email
Click “Send” at the top right, choose the email icon, enter recipient addresses, and send. The quiz link is embedded in the email.
Copy the responder link
Click “Send” and choose the link icon. Copy the link and share it through messaging apps, LMS, or social media.
Embed on a website
Click “Send” and choose the embed icon (< >). Copy the HTML code and paste it into your website or blog.
Important: Before sharing, make sure the quiz is published. An unpublished form cannot be accessed by responders even if they have the link. Under “General access,” you can allow anyone with the link to respond, or restrict it to specific people or your organization.
Review results & grade (mostly automatic)
Once respondents submit, Google Forms automatically grades all questions with answer keys. You can review results in three views:
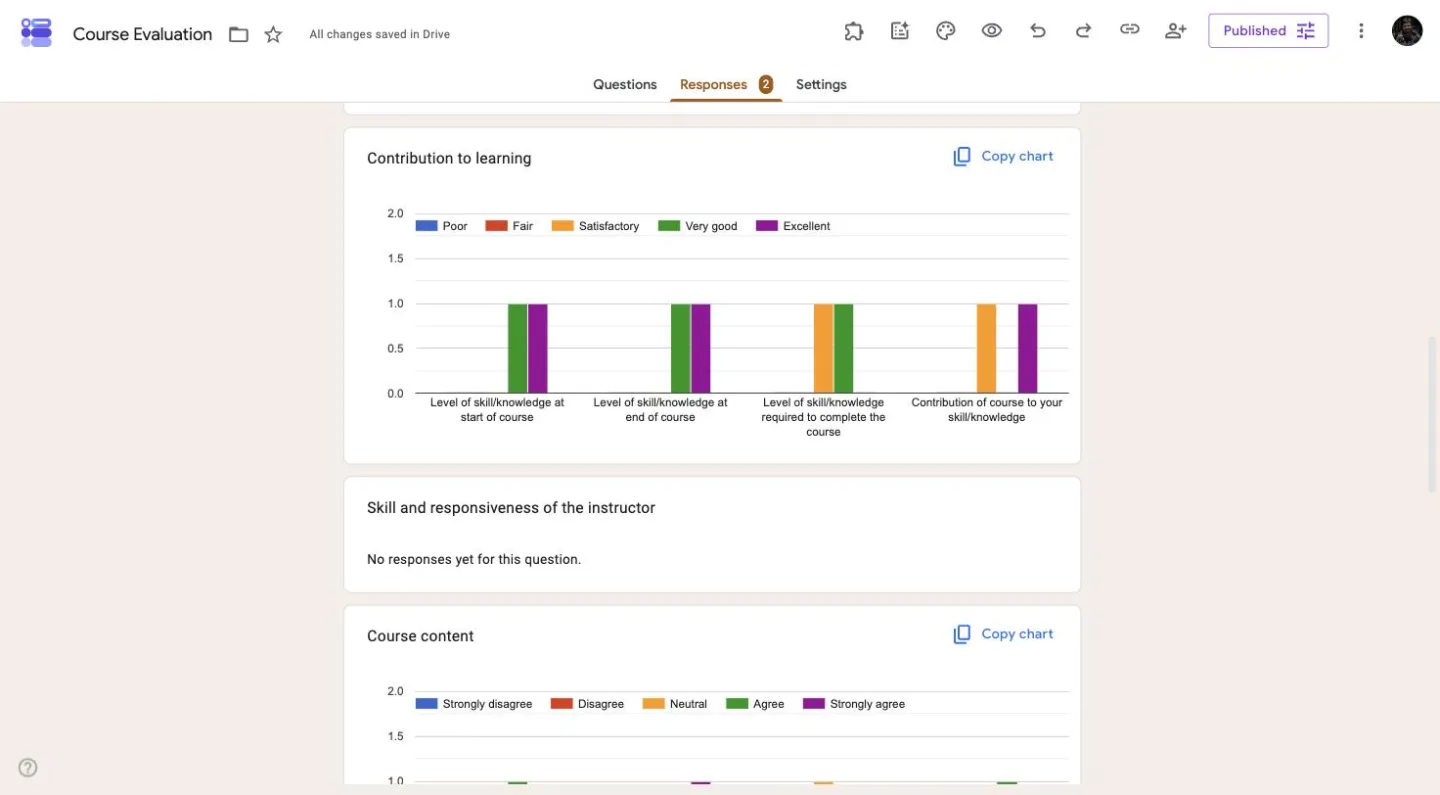
- Summary view: Shows frequently missed questions, graphs marked with correct answers, and the average, median, and range of scores.
- Question view: Grade question-by-question. You can mark answers correct or incorrect, award partial points, and add written or video feedback.
- Individual view: See each respondent’s full submission. If you collected email addresses, you can assign points and leave feedback on individual responses.
Pro tip: For questions that cannot be auto-graded (paragraph answers, short answers with ambiguous wording), grade them manually in the Individual or Question view. Your manual grades are saved and included in the final score.
Best practices & common mistakes
❌ 1. Forgetting to enable quiz mode
Without quiz mode, you cannot set answer keys or auto-grade. Always enable it as the first step.
❌ 2. Not adding multiple accepted answers for short questions
Exact-match grading fails on “Paris, France” if you only entered “Paris.” Anticipate variations and add all acceptable answers.
❌ 3. Using paragraph questions for auto-grading
Paragraph questions cannot be auto-graded. Use short answer or multiple choice if you want automatic grading.
❌ 4. Not collecting email addresses
If you need to identify respondents or send grades, turn on “Collect email addresses.” Without it, responses are anonymous.
❌ 5. Sharing before publishing
An unpublished form cannot be accessed. Always click “Publish” and confirm the “Published” status before sharing the link.
❌ 6. Ignoring feedback
Feedback is what makes a quiz a learning tool. Add at least a one-line explanation for correct and incorrect answers.
Final Advice
The fastest way to build a Google Forms quiz is simple: enable quiz mode → add questions → set answer keys and points → add feedback → control access → publish and share → review results.
If you follow this process, Google Forms will do most of the grading for you,saving hours of manual work and giving respondents immediate, meaningful feedback.
